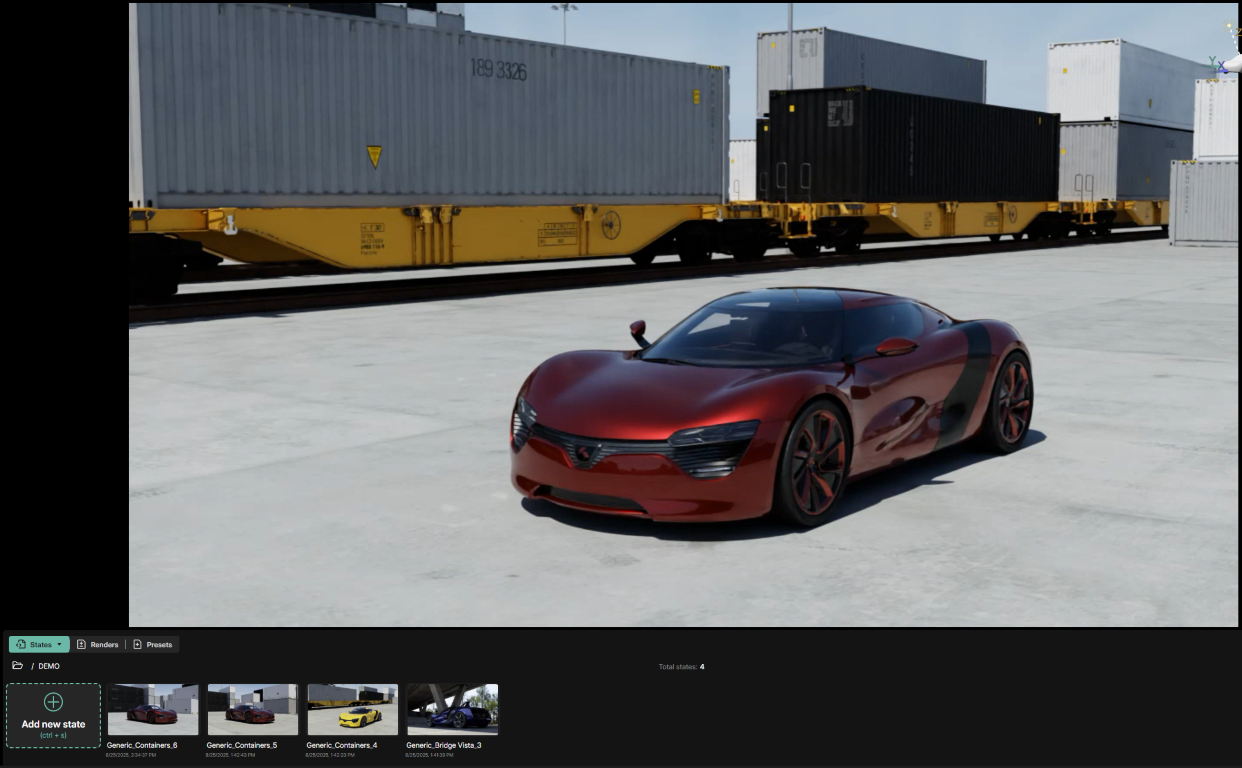
Camera
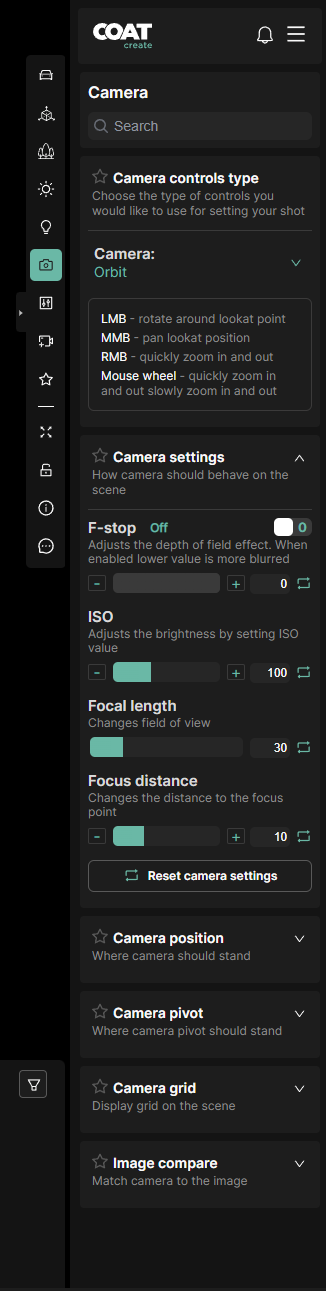
The Camera menu contains various controls and settings used to compose your shot.
- Search - Searches for specific camera functions by name.
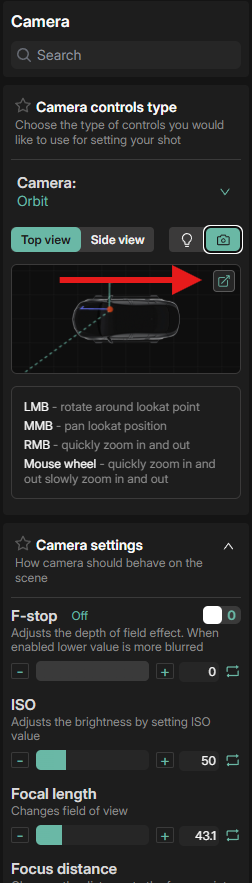
Camera controls type
Choose the style of camera controls to use for positioning the camera.
-
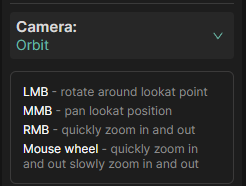
Orbit - The camera looks at the center point of the car "orbiting" freely around that center point.
-
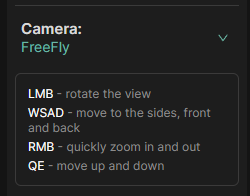
Freefly- The camera can be positioned using keyboard shortcuts WASD to move around the scene.
-
Sequenced - The arrow keys can be used to cycle through the camera presets. The preset cameras can then be unlocked and customized as desired.
-
Locked Rotation- Camera translate position remains constant, but camera can be rotated freely to look around scene.
Keyboard combinations and mouse button control explainations will be displayed below the selected camera type. examples below.
Camera Settings:
-
F-stop - Enables depth of field, lower values have stronger depth of field and higher values have less.
-
ISO - Adjusts the camera's sensitivity to light. Lower values are less sensitive to light (darker), higher values are more sensitive to light (brighter).
-
Focal Length - The angle of view in mm based on a full frame camera back. Lower values will have a fisheye appearance. Higher values will have a more telephoto appearance.
-
Focal Distance - The distance of the focus point when depth of field is enabled. This will be in focus any areas closer or further will be out of focus.
Focus Selection

- Focus Distance Selector - Turn this on to lock the camera and click in the viewport to select your focus distance.
- Focus Plane - Represents the focal distance as a purple plane and an easy way to visualize what will be in focus.
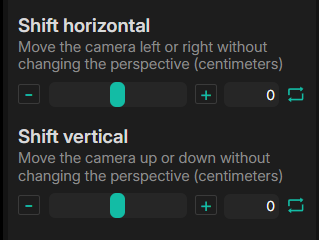
Focal Shift
Focal Shifs allow you to adjust the placement of the scene in the view with out changing perspecticve. This is the same as moving the back plae in physical camera. By moving the "film" in the camera it changes the view through the lens.
-
Shift Horizontal - move the image left or right without changing the perspective.
-
Shift Vertical - move the image up or down with out changing perspective.
Camera Position
-
Camera rotation speed - How quickly the viewport reacts to rotational input.
-
Camera move speed - How quickly the viewport reacts to the input when using keyboard to move the camera.
-
Distance - Dolly the camera closer or further from the look at point.
-
Rotate left/right - Rotates the camera left or right.
-
Rotate down/up - Tilts the camera up or down.
-
Move left/right - Translates the camera left or right in frame.
-
Move down/up - Translates the camera down or up in frame.
Camera Pivot
Translates the point at which the camera is moving from. Moving the pivot allows you to move the camera in ways you might not be able to using the viewport.
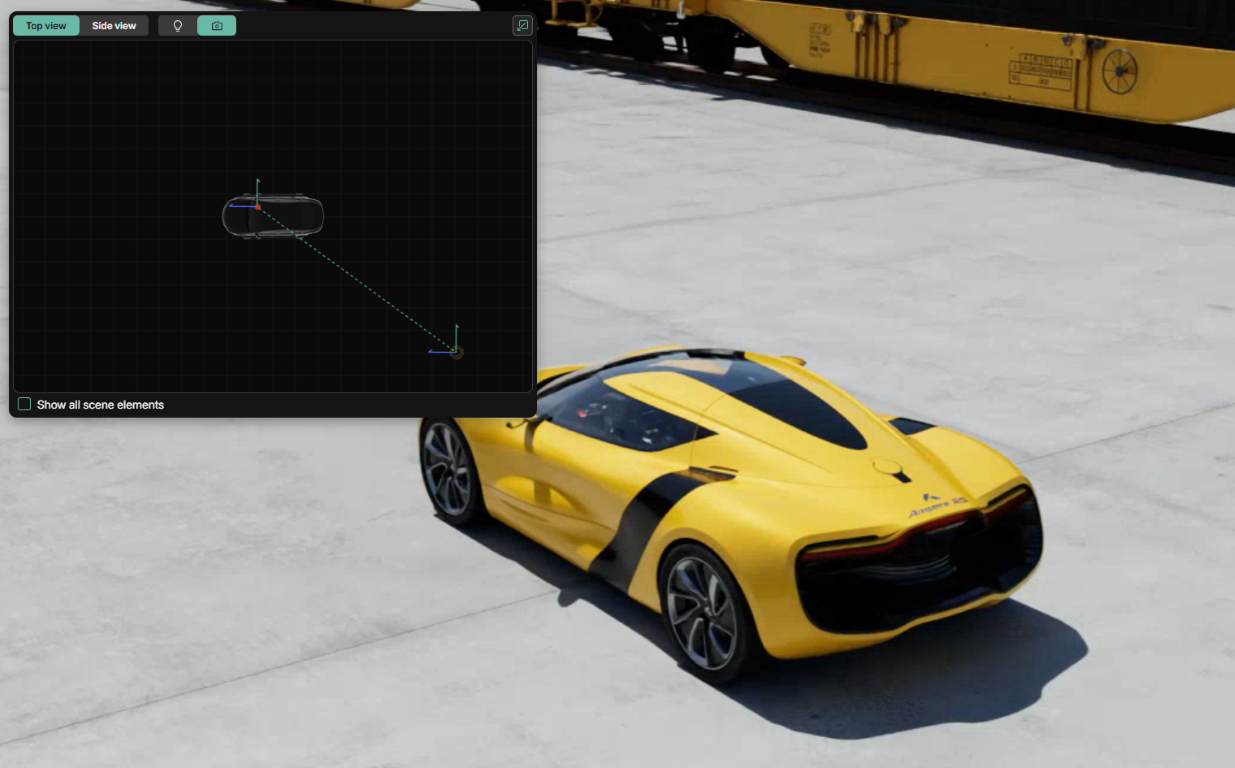
Position Camera using pop out window and scene view
It is also possible to position the camera using the Pop Out Window found in the Camera menu.
Click on the icon in the upper right corner of the window to pop it out onto the viewport.
The window can be moved around and resized, as well as zoomed in or out.
The camera and it's target will be selected. Click and drag them to the desired position to establish your shot.
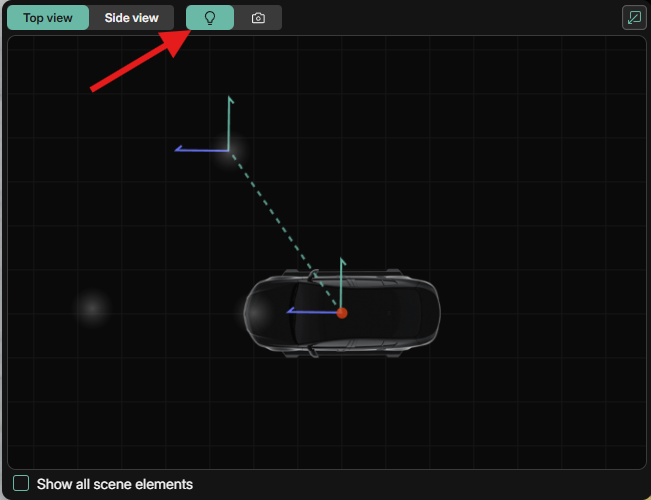
Toggling back to the light icon will allow you to select and manipulate Custom Lights if they exist in your scene.
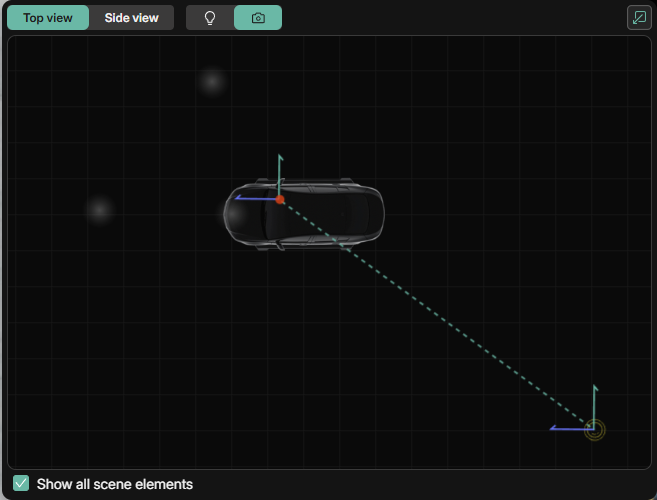
Checking the Show all scene elements box in the lower left corner will display both the Camera and any Custom Lights
The elevation of the Pop Out Window can be changed by switching from Top view to Side view and back.
Near and Far Clipping Plane
Adjusting the Near and Far Clipping Planes will hide opbjects that are nearer or farther than the specified distances set in the attributes of the planes.
Near Clipping Plane distance is set in Centimeters and can be used to clip out objects near the lens of the camera.
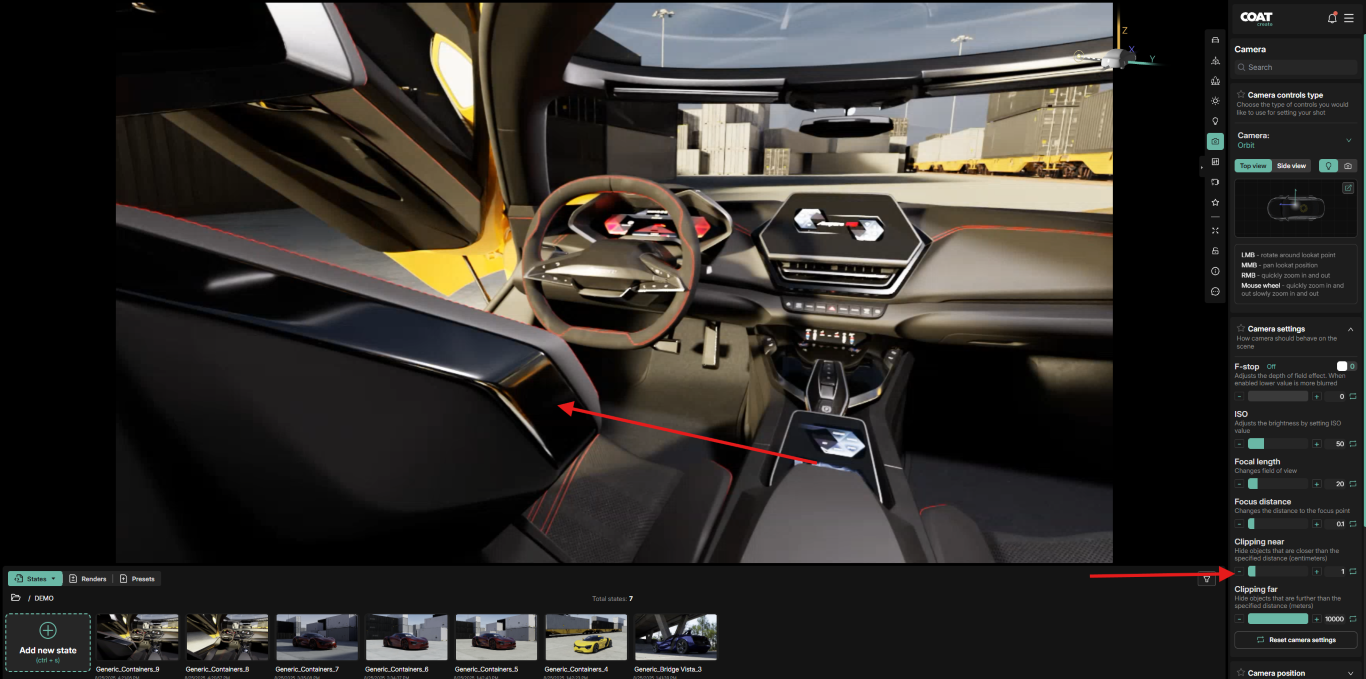 For intstance this seat back can be clipped by adjusting the Clipping near value

Far Clipping Plane works in a similar way. Any objects farther from the camera than the distance set in it's parameter will not be visible. Far Clipping distance is set in Meters.
Currently the near clipping plane will be disable when using F-stop. This is a known bug with Nvidia's Omniverse and we are working with them to resolve it.
Camera Grid
Display overlays to the viewport that assist in composing your image.
Golden Ratio
Rule of Thirds
- Rule of Fifths - use this to help your image to be symmetrically lined up or centered in the frame.
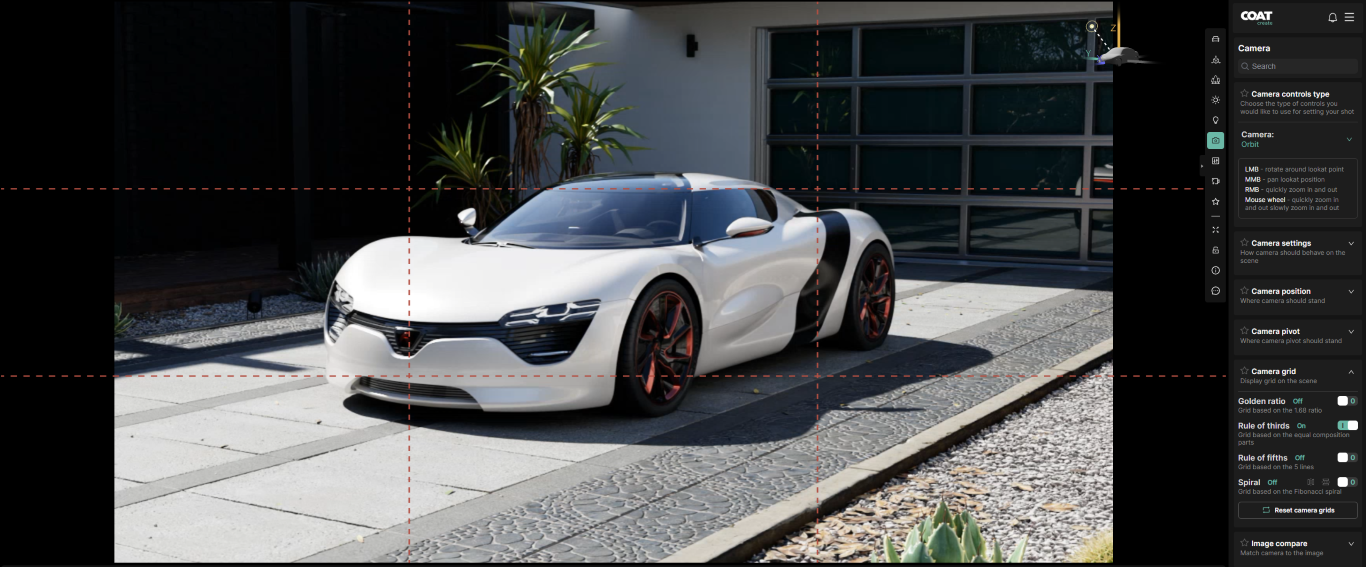
Spiral
The icons next to the toggle, allow you to flip the spiral vertically or horizontally to accommodate your layout. Using the icons next to the spiral allows you to Rotate (red arrow), Move (green arrow), or Scale (blue arrow) the Spiral interactively in the viewport.
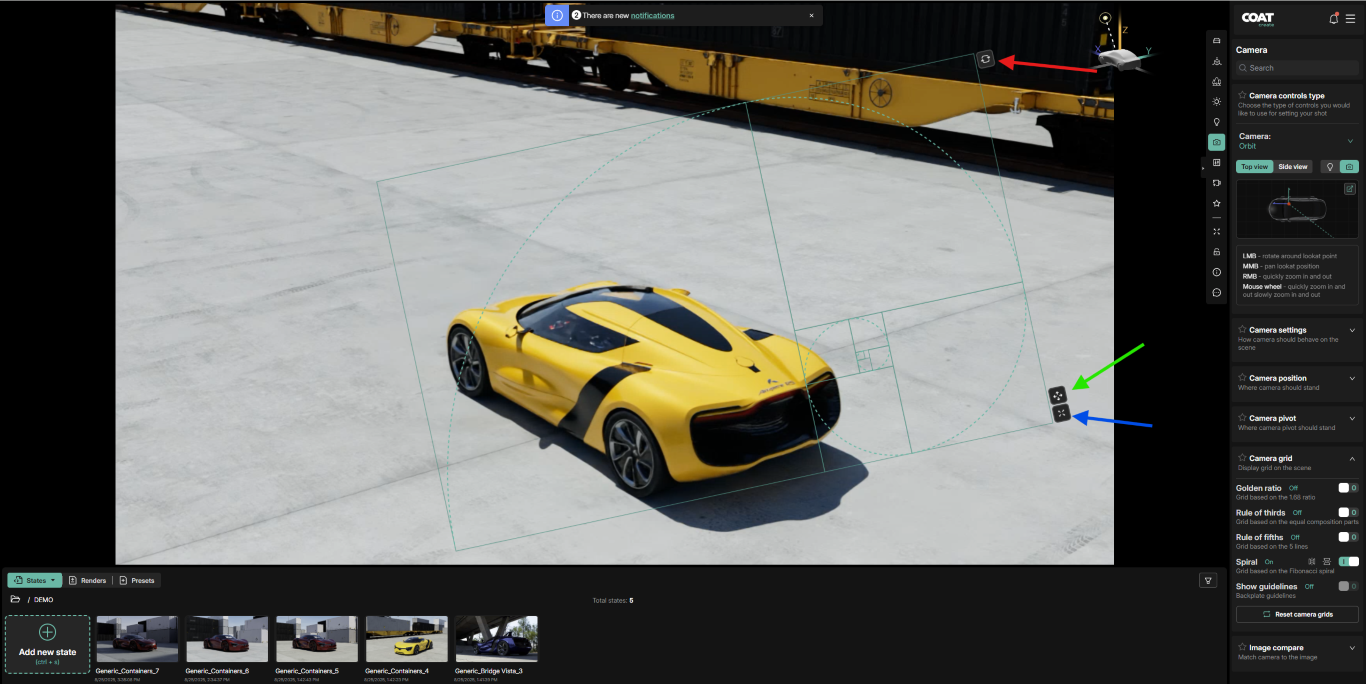
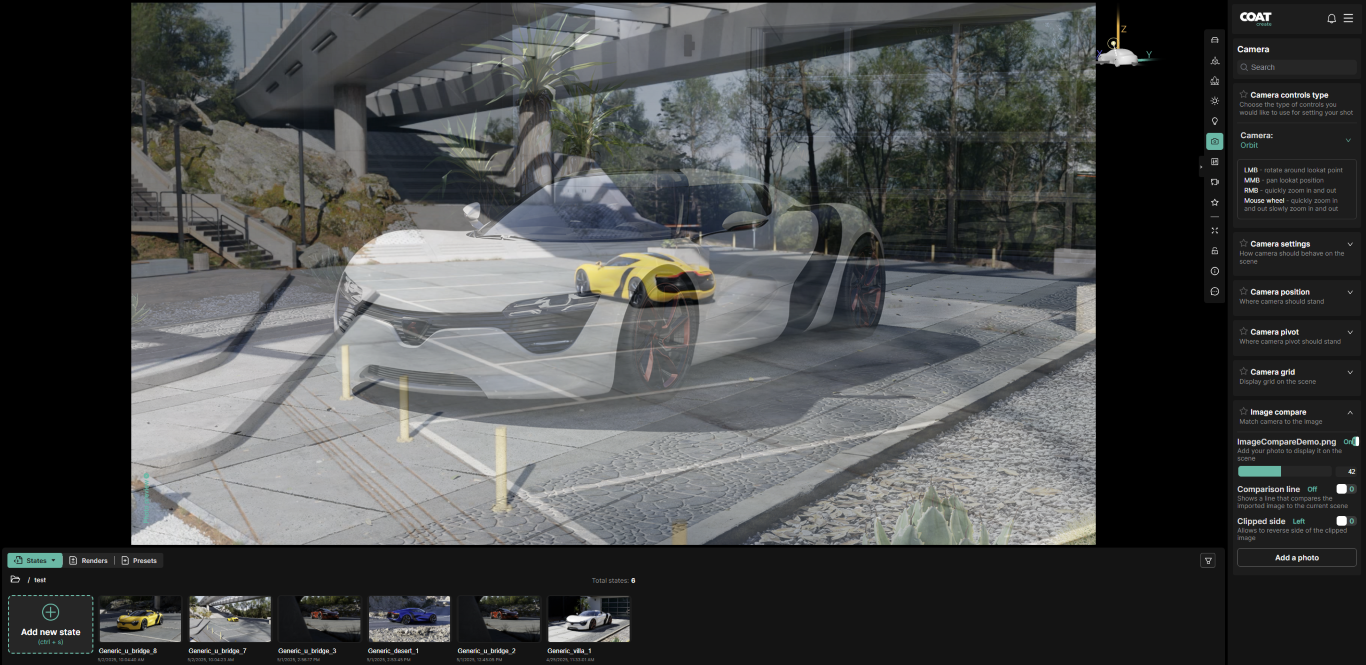
Image Compare
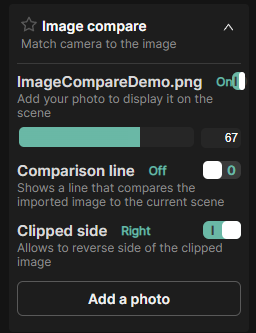
Image compare loads a user supplied reference image into the viewport to make aligning your camera to the reference easier.
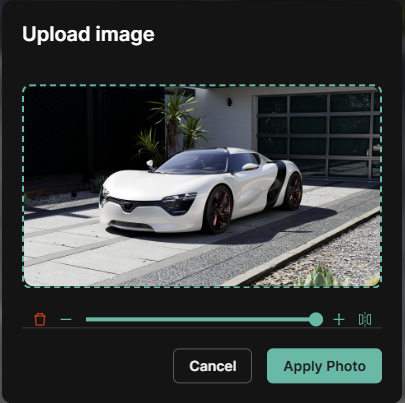
After loading an image you may toggle the image on and off or, change the opacity of the reference image.
Comparison line - Turn on a line to split the image vertically between the image and the COATcreate viewport.
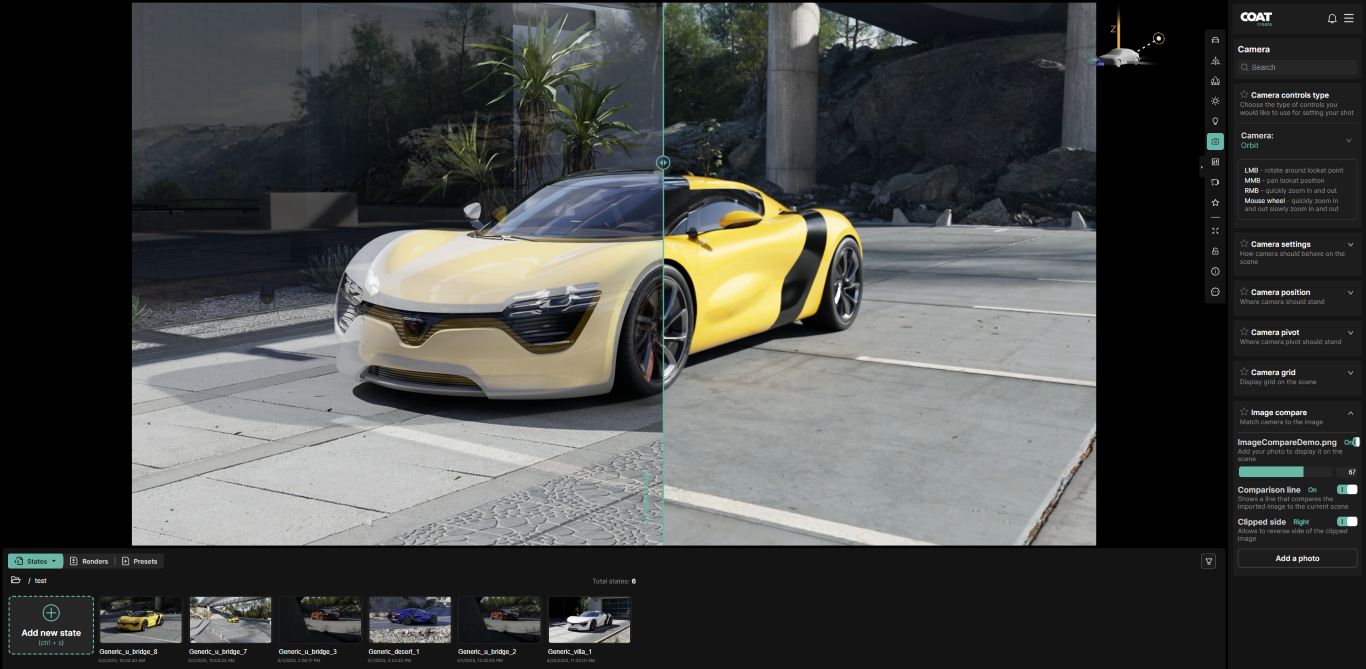
Clipped side - flips the side of the Comparison line on which the reference is displayed over the COAT viewport.
- With patience and careful positioning, a great match can be achieved.
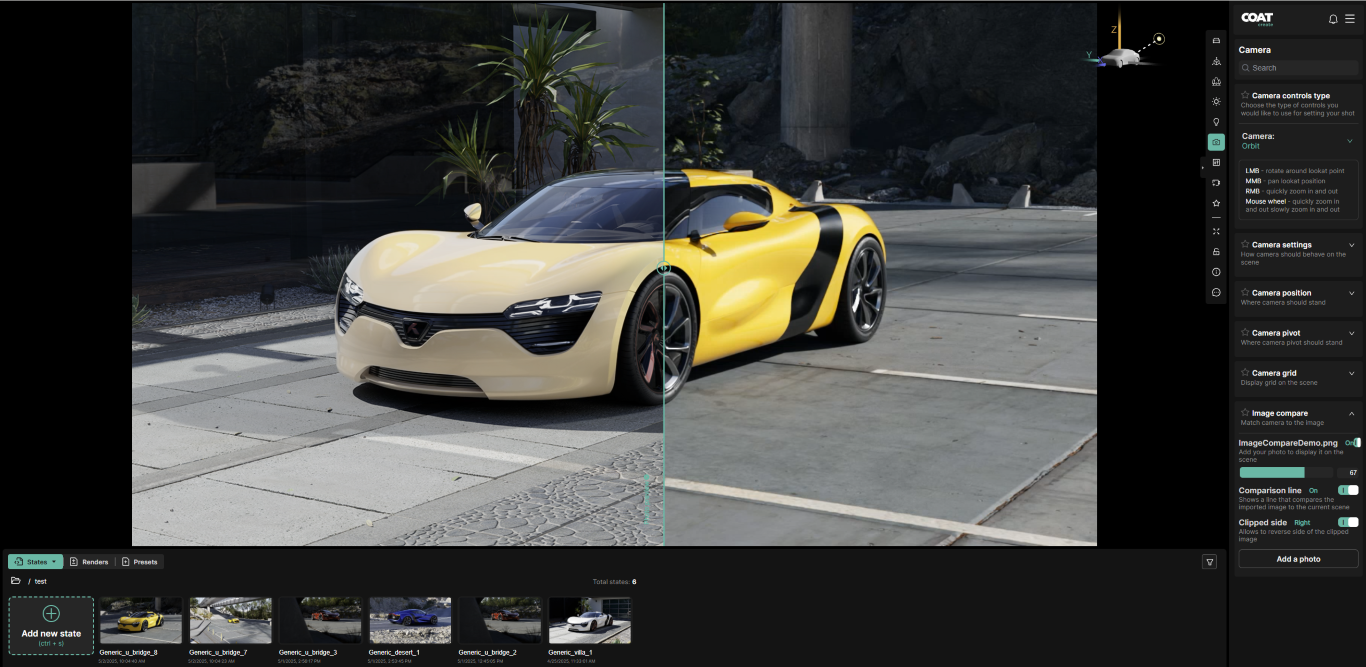
Special Note : The overlay image is positioned in the browser, so resizing the window can misalign it with the render. For the best results when using Image Compare, keep your browser in full-screen mode while matching the camera to your reference.
Apply State Parts Camera Options
It is possible to transfer camera information from a State to the active session by using the Apply State Parts function found in the three bar menu of a State thumbnail.
Click on the three bar menu of the State you would like to apply the Camera from and choose Apply State Parts option.
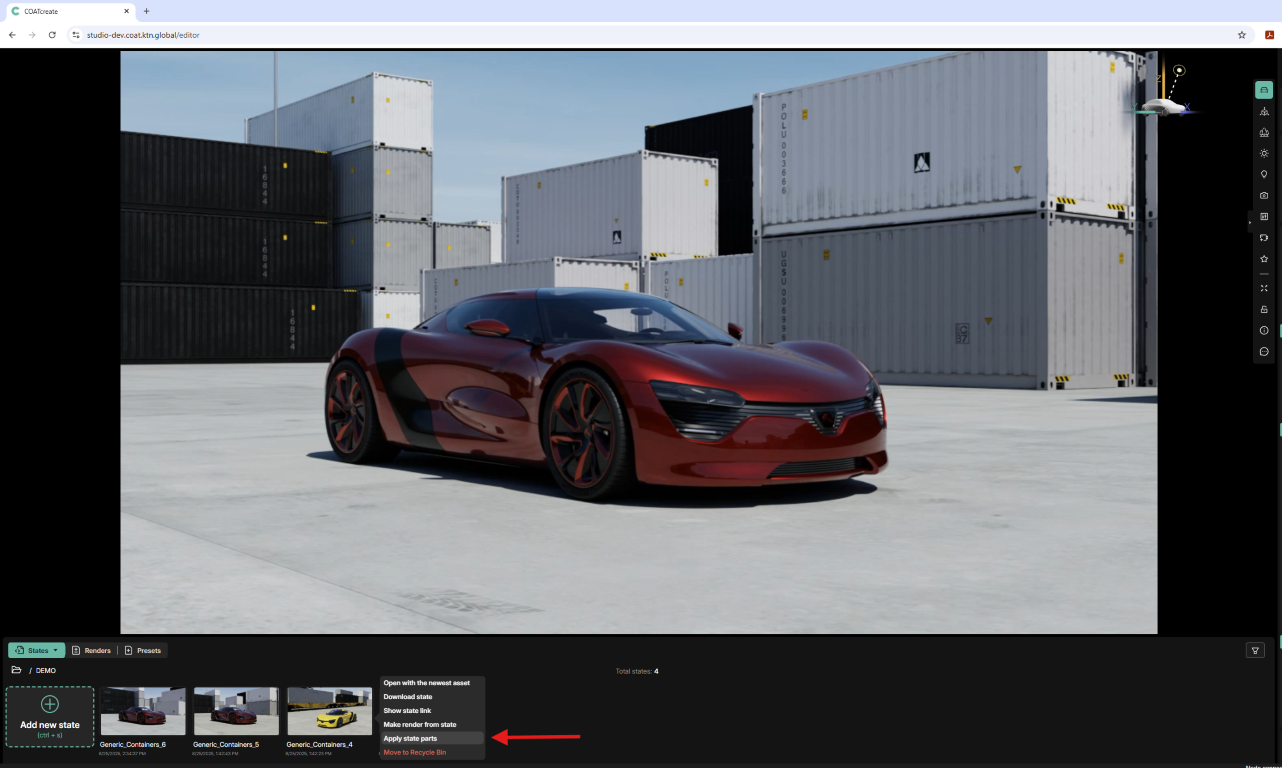
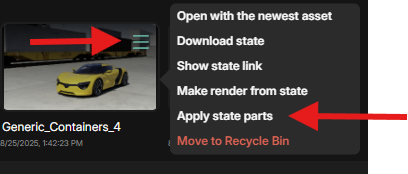
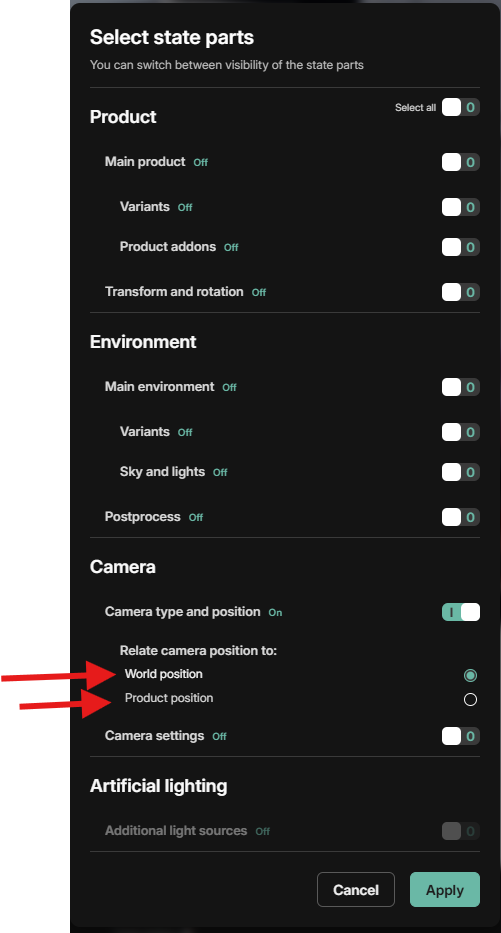
You will be presented with a menu of options
There are two options for applying the camera information.
-
World position - choose this if you want the camera to be positioned relative to the envrionment
-
Product position - choose this if you want the camera to be positioned relative to the product, particularily if it's been repositioned with in the environment.
Click Apply
The result will be the camera information being transferred from the desired State to the current Working Session.